

The first map, Haunted Vault, is a chilling crypt located within the cemetery of Drezen. After a fierce battle against a relentless ghoul army, the focus shifts to securing the Haunted Vault. This eerie and decrepit vault, filled with ancient tombs and darkened corners, must be cleared to ensure that no malevolent spirits or undead can rise again to ambush the crusaders. The crypt's shadowy depths and oppressive atmosphere make it a perilous location where every step could reveal hidden threats.
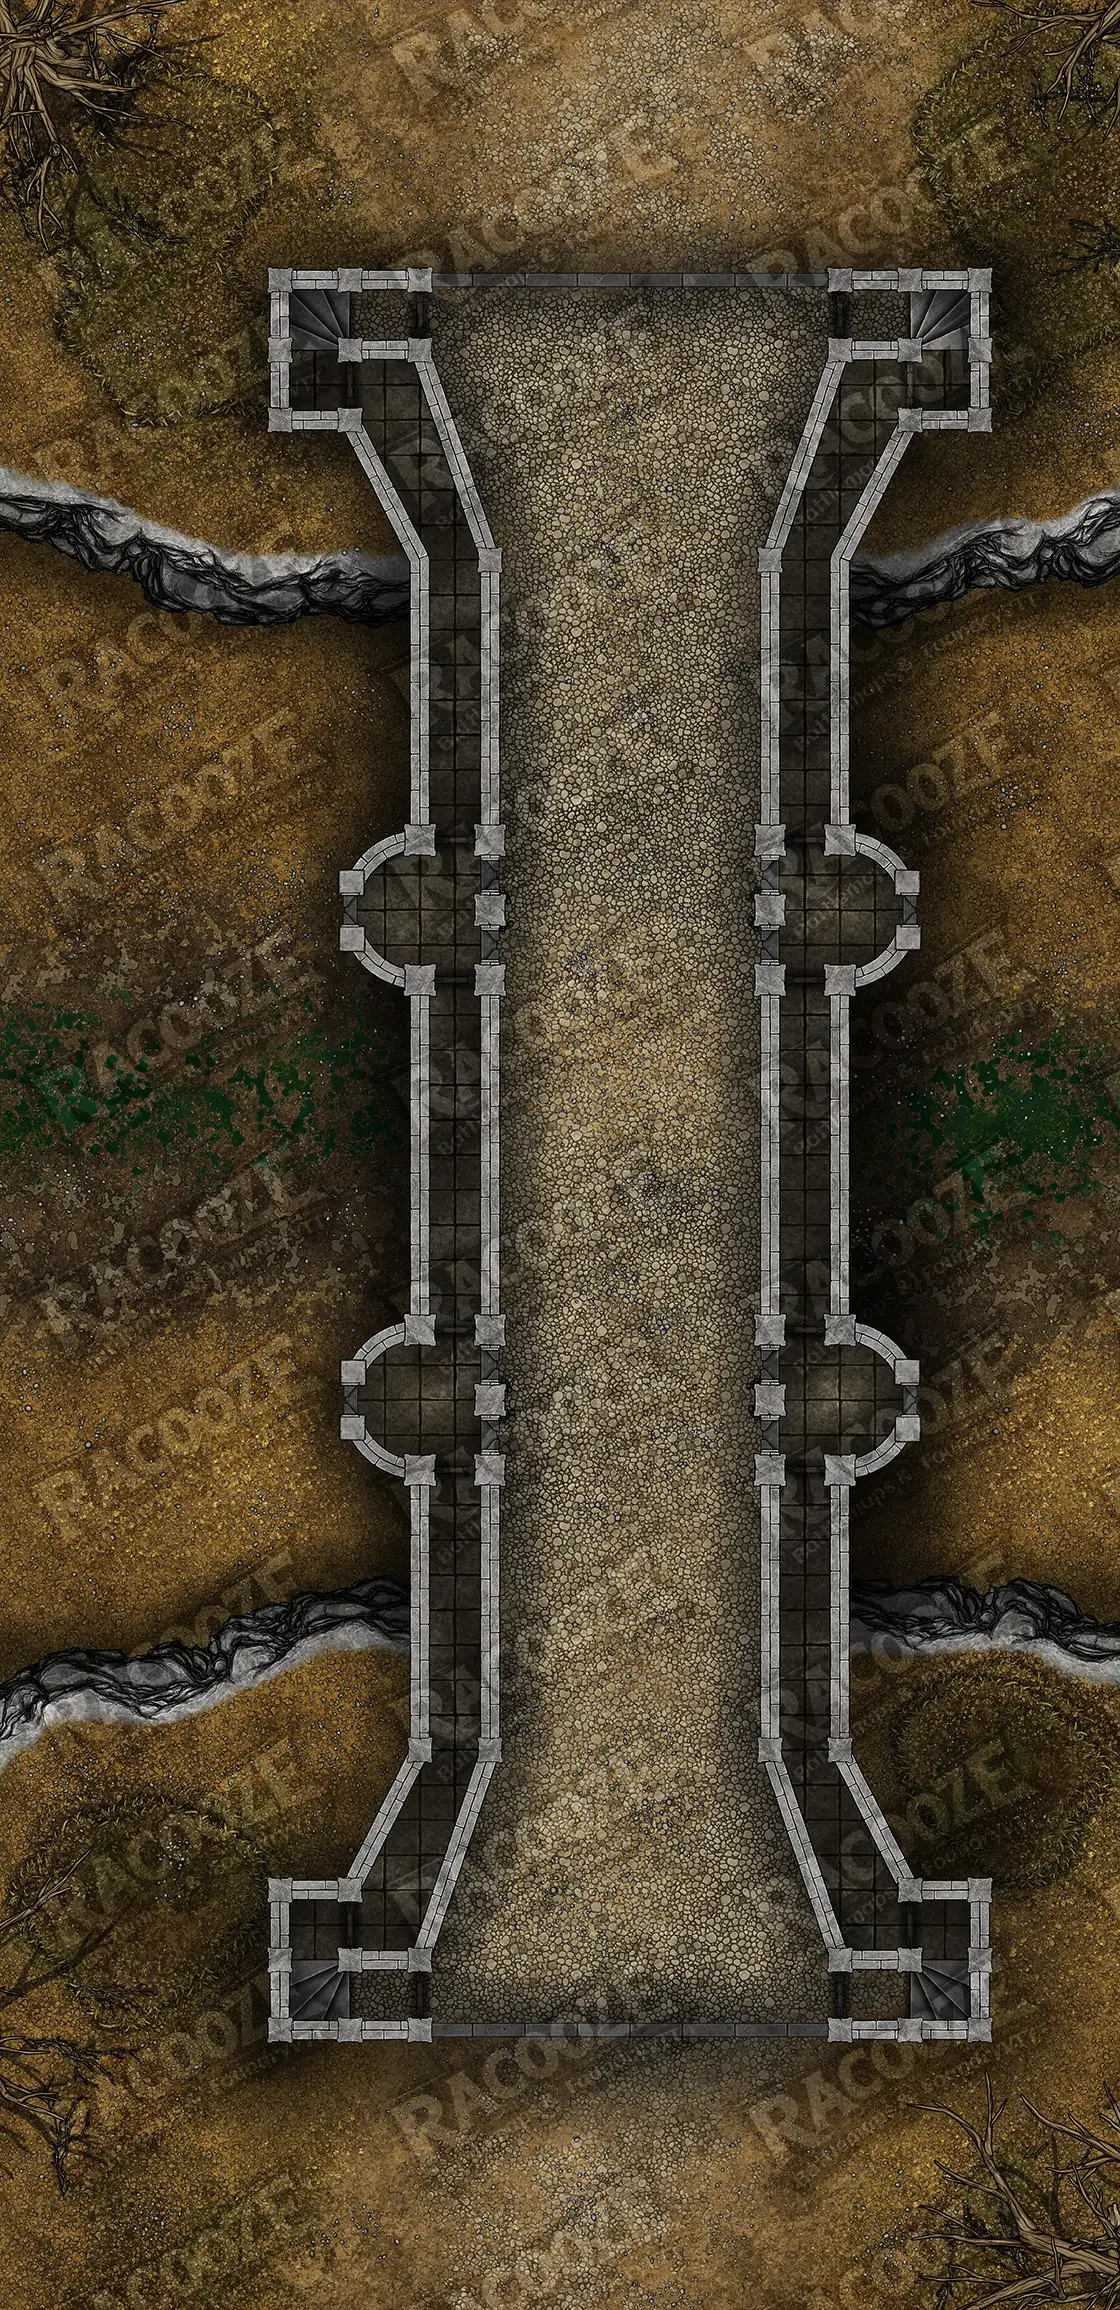
Next, the Ahari Bridge is a crucial strategic point, guarded by a band of tieflings and their allies. Spanning a vital marshland, this bridge is the key to advancing towards the citadel. The defenders are determined to destroy it and halt any progress toward Drezen. The bridge’s narrow walkways and strong fortifications provide a challenging terrain for combat and strategy, requiring careful planning to either secure or sabotage this vital crossing.
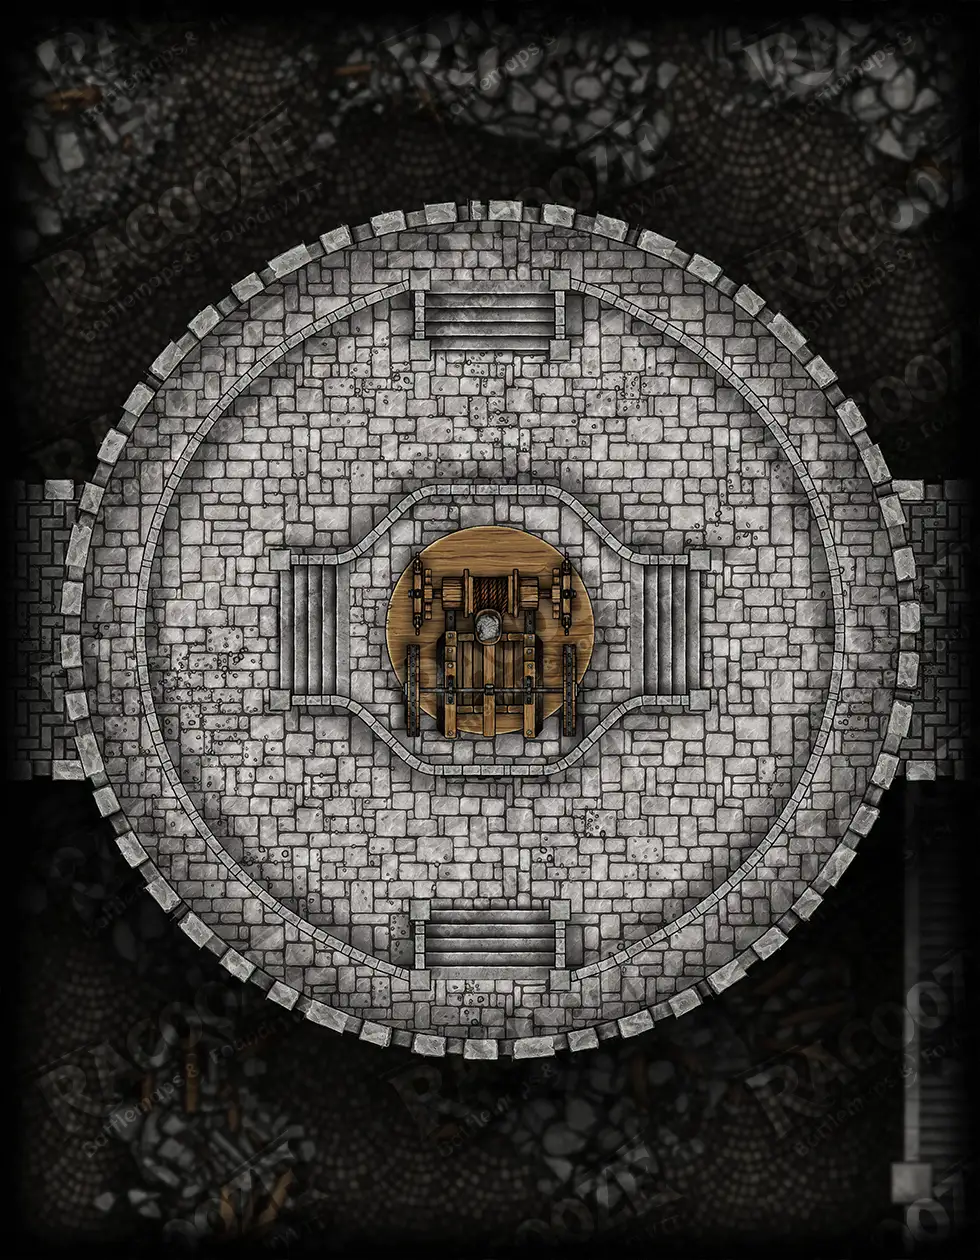
Finally, the Watchtower stands tall as a formidable fortress equipped with heavy catapults. Positioned strategically to rain destruction upon the crusader forces, this tower must be neutralized to prevent the enemy from using it to devastating effect. With its elevated position and formidable defenses, the Watchtower offers a challenging target, necessitating swift and decisive action to seize control and turn the tide of battle in favor of the defenders of Drezen.
Each map in the Sword of Valor Map Pack is designed to immerse players in the dramatic siege of Drezen, providing dynamic environments and tactical challenges essential for the epic confrontation with the forces of darkness.